
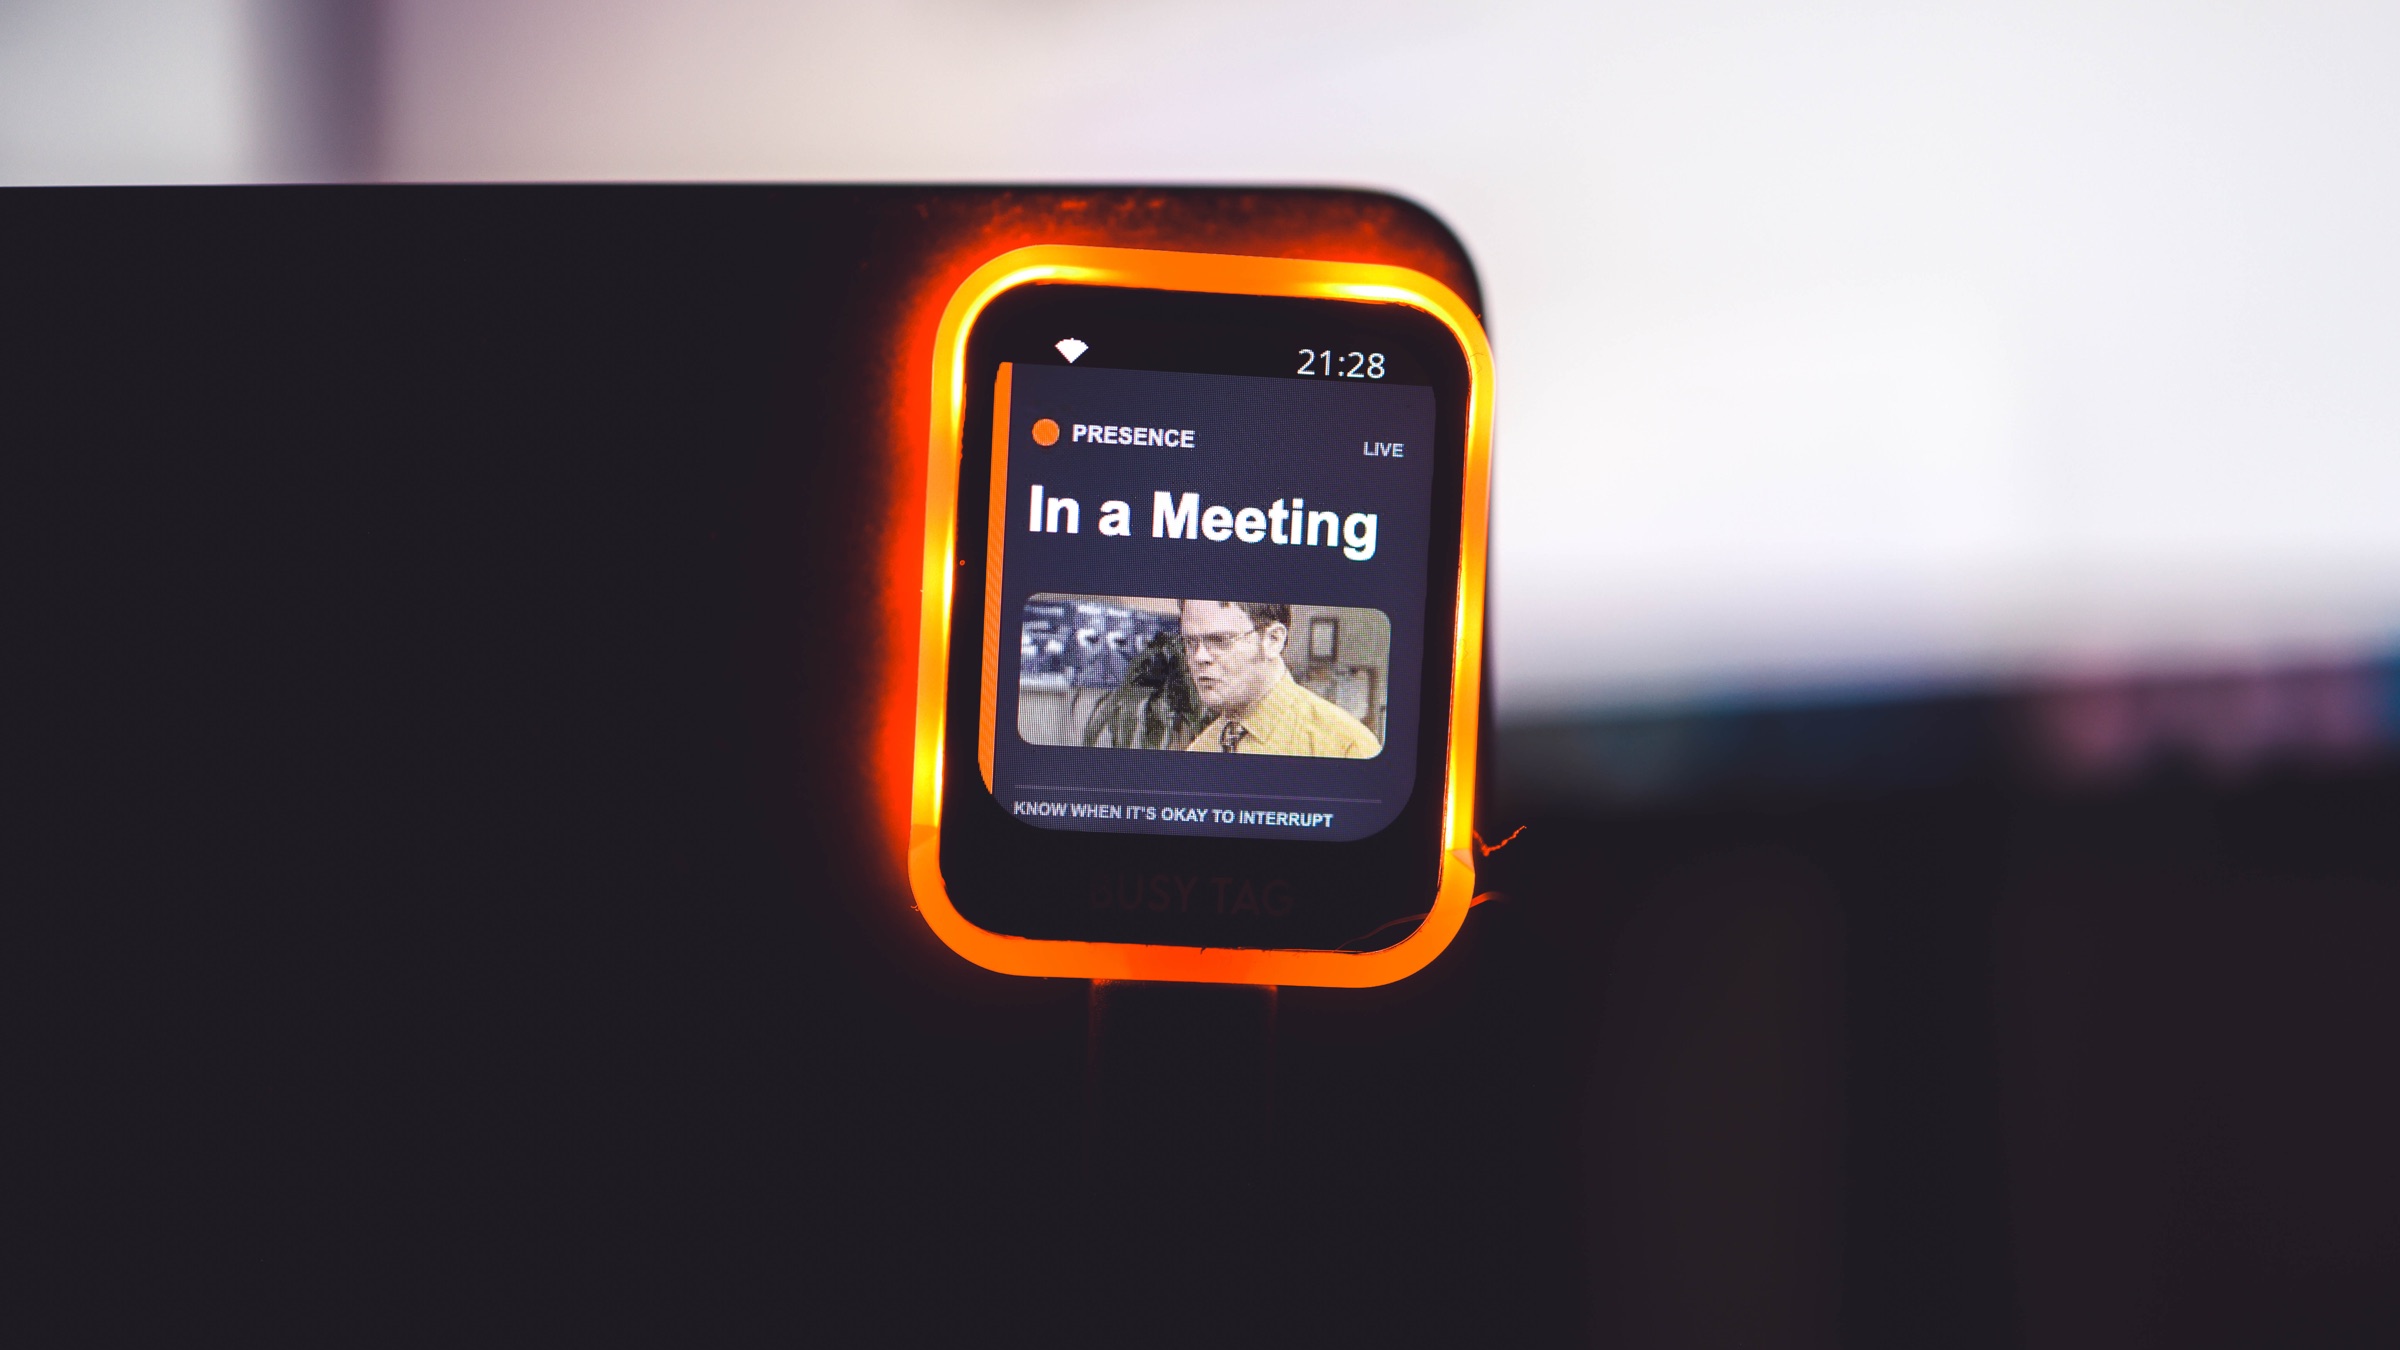
BusyTag is a strong physical signal. Presence gives it the missing decision layer: which calendar and live-work signals should determine what the display says right now.
Let Presence resolve the status first
Google Calendar events are one input. Presence can combine them with working hours, manual choices, supported meetings, calls, recording, focus, and optional broad workplace labels.
BusyTag remains an output. It shows the final privacy-safe answer without overriding Presence or exposing the event behind it.
Install the native plugin
Download Presence for BusyTag from the integration page. In the BusyTag desktop app, open Integrations, choose Install from file, select the plugin, and add it to My Integrations.
Paste the private BusyTag link from the Presence dashboard once, then press Play.
Choose how the physical display looks
Presence can show the status message or an assigned looping GIF, optional broad location, and the color mapped to the final status. Edge LED intensity is controlled from the Presence dashboard.
The connected computer and BusyTag desktop app currently need to stay running for live updates and animation. Wi-Fi alone does not keep the status current.
- Connect Google Calendar to Presence and select the calendars that matter.
- Download and install the Presence BusyTag plugin.
- Paste the private BusyTag connection link from the Presence dashboard.
- Press Play and test a calendar or manual status change.